How to Align Garage Door Sensors
That small huff of irritation? We get it.
It’s the noise you make when your reliable garage door just up and declares, “Nope, not closing today.” That sudden new obstinacy can throw a real wrench into your day, right in the middle of your attempt to get on with it.
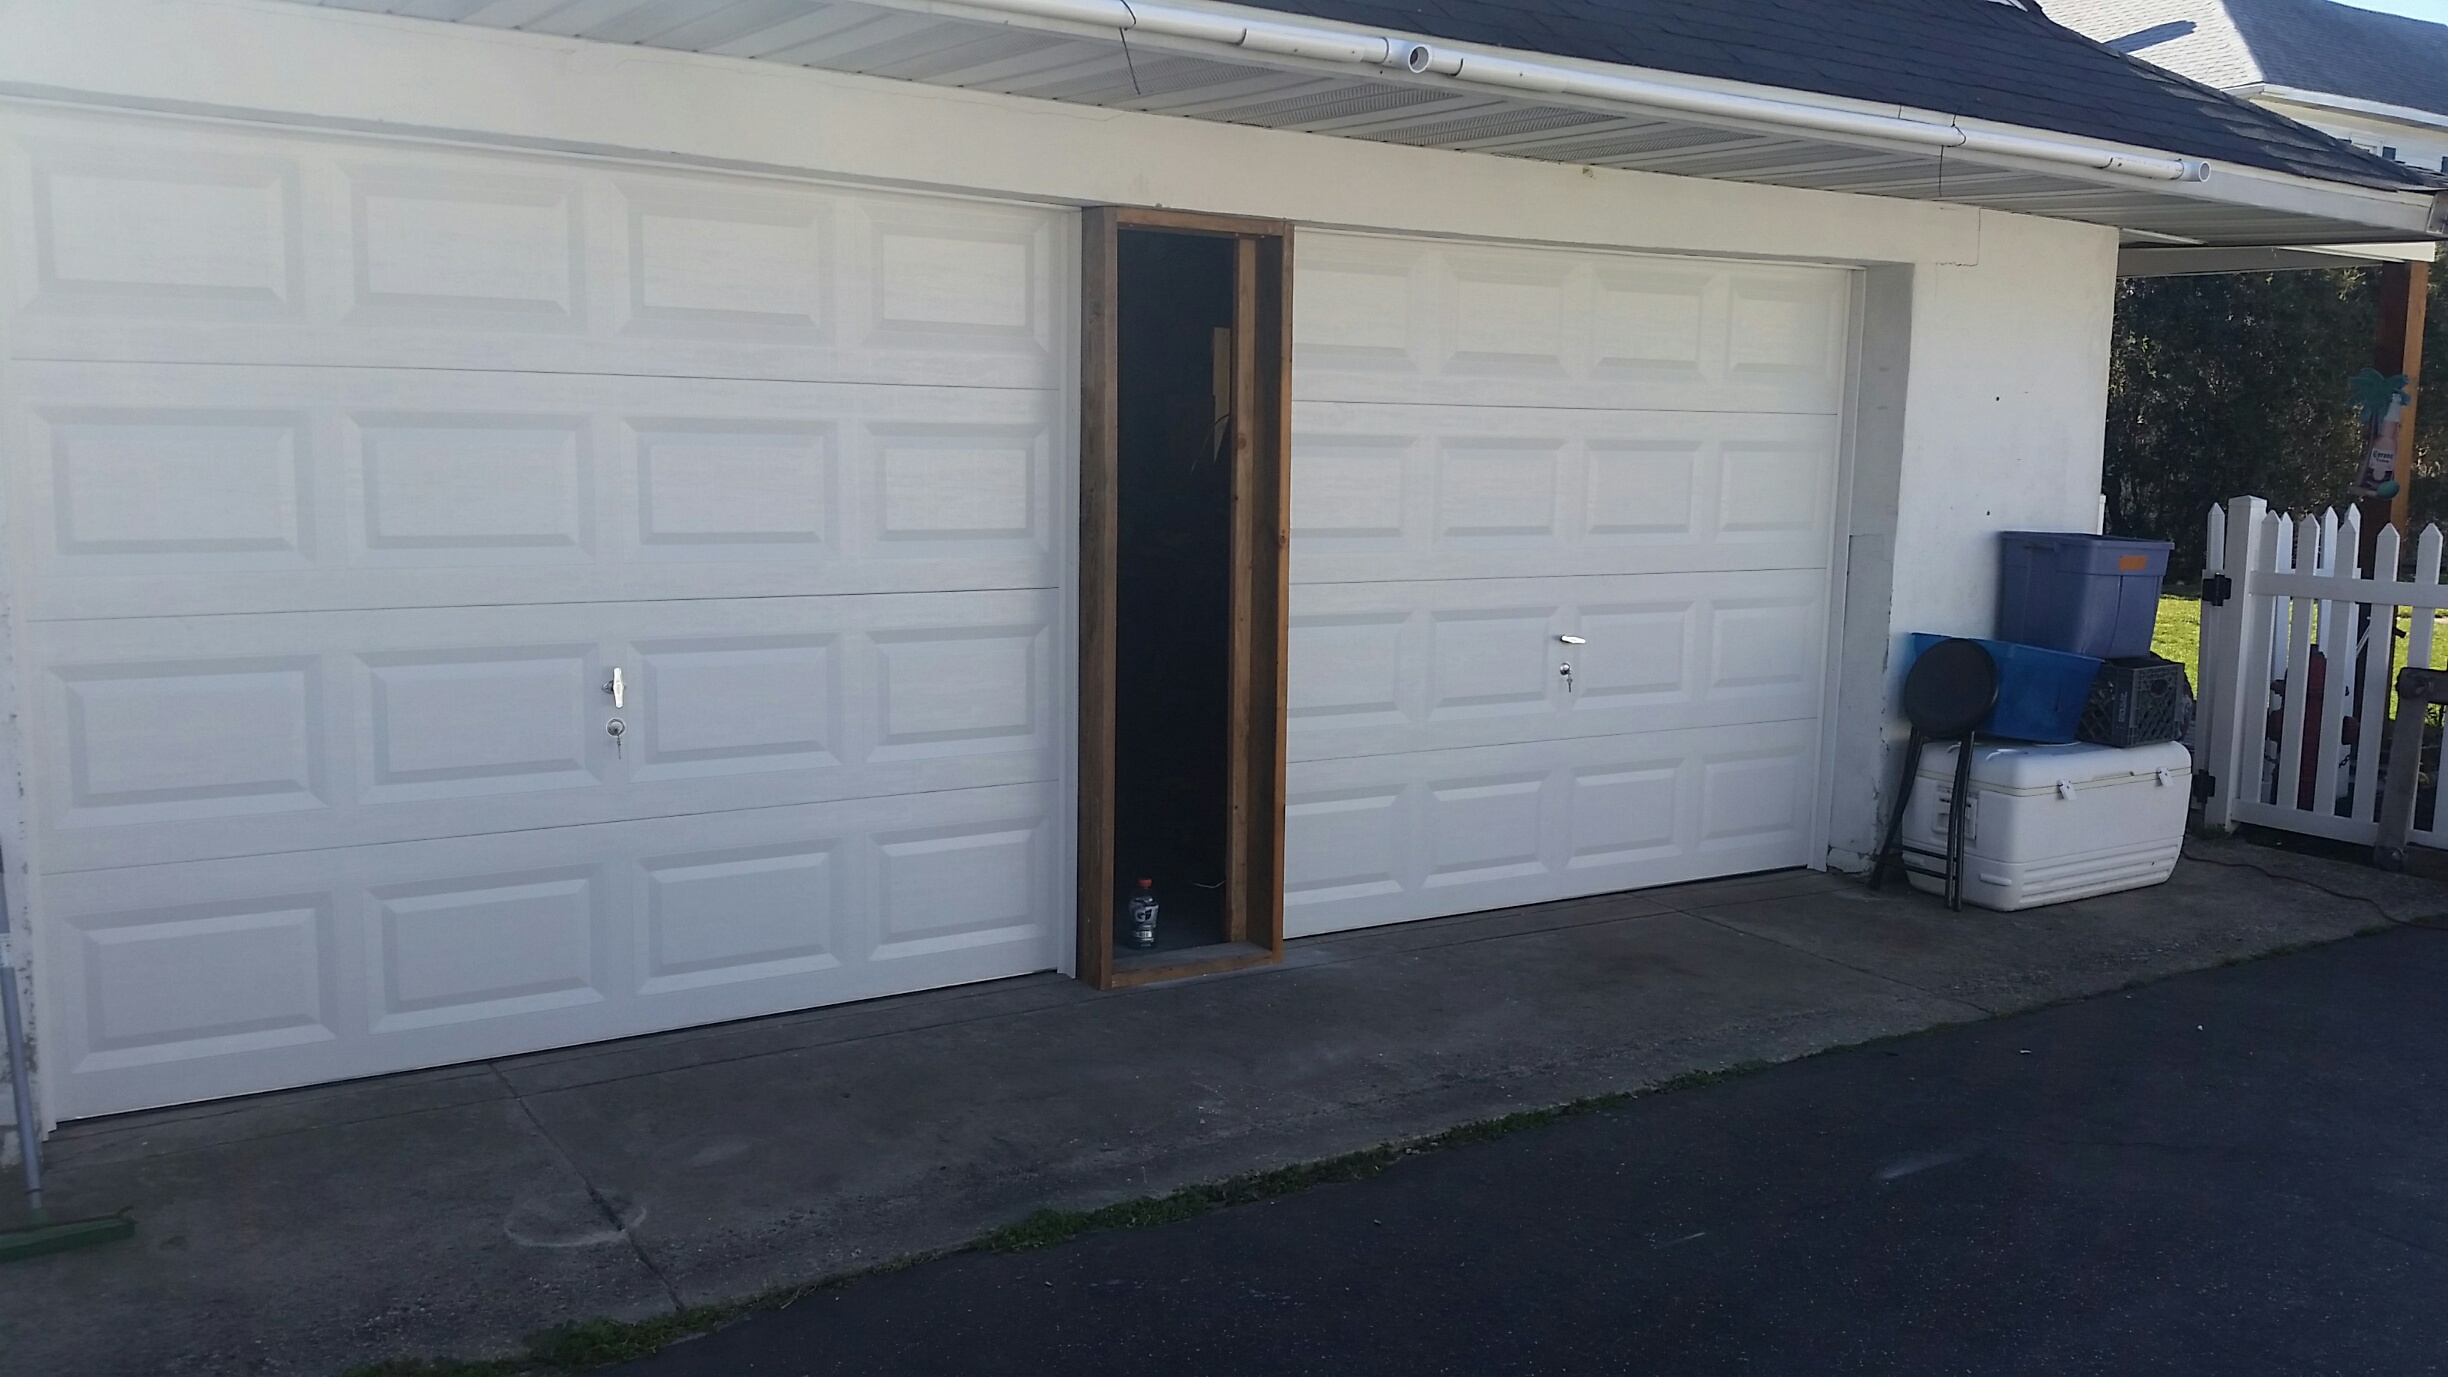
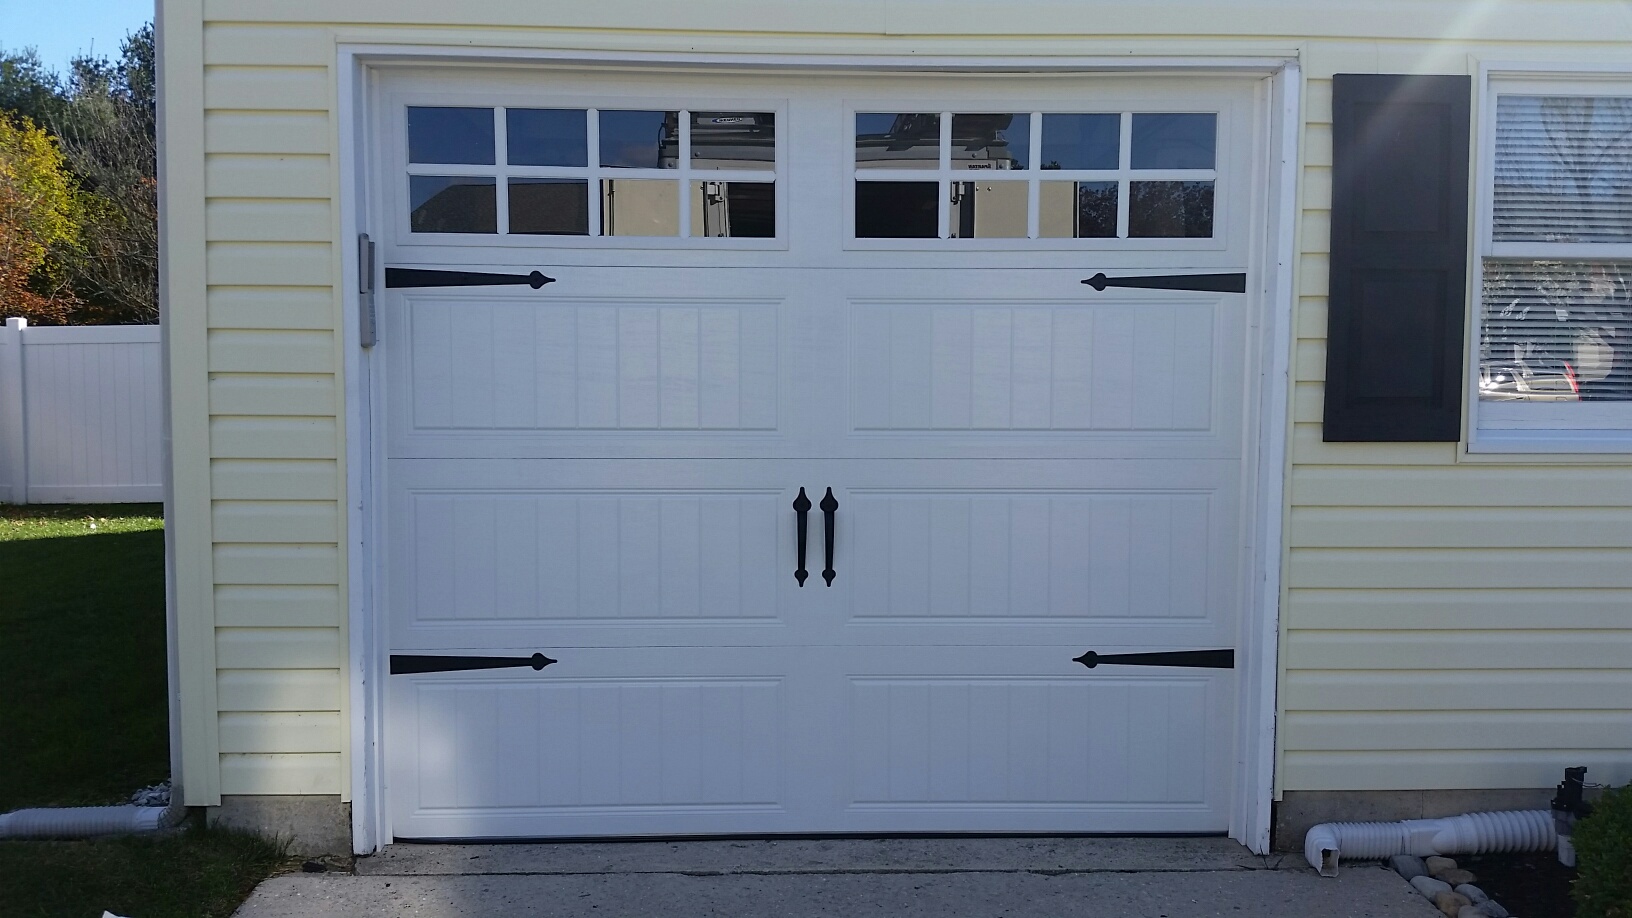
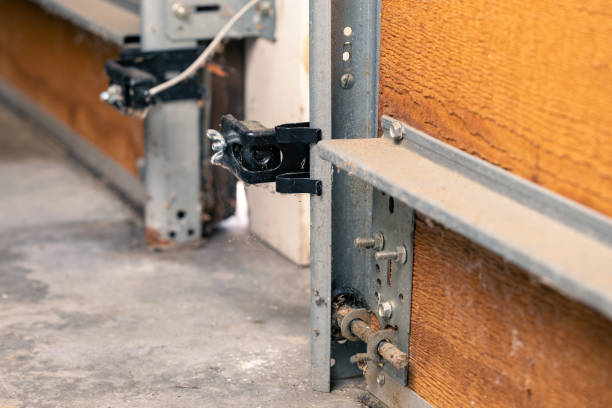
But here’s a friendly tip from us at Dave Moseley The Door Guy: often, the villain in this scenario isn’t some big, scary mechanical beast. More times than not, it’s the small, but mighty, garage door sensor. These safety sensors, those little electronic eyes usually mounted low on either side of the garage doorway, are your quiet guardians of garage door safety, always on the lookout for an obstruction.
Sometimes, though, these garage door sensors just get a bit out of sorts – a simple misalignment. The fantastic news? While the garage door industry certainly has professionals like us ready to help with the tough stuff, many homeowners can actually tackle this common hiccup themselves. Let’s show you how to get those important sensors seeing eye-to-eye again.
Symptoms of Misaligned Garage Door Sensors
So, how can you tell if your garage door sensors are feeling a bit off? The most obvious clue is your garage door stubbornly refusing to close. Or, it might start closing, then suddenly reverse direction, like it’s seen a ghost (or, more likely, its beam detected an obstruction, even if you can’t see one!). Your sensors will frequently use their lights to “talk” to you about what’s happening.
A flashing light on one of the garage sensors – quite frequently a green light that flashes rather than shining steadily – is a strong indication that misalignment is the issue. Occasionally, the main motor unit of your garage door opener will even flash a warning light as well, repeating the sensors’ distress call.
A more vexing clue is when the door won’t even try to close. You hit the button, and… nothing. Crickets. Although other small gremlins, such as a blown fuse, can occasionally be the culprit, issues with the garage door sensor are a common offender when it comes to this type of non-response. And then you have the moody door: it closes correctly sometimes, and sometimes it throws a tantrum. This on-again, off-again cooperation may also indicate that the garage door sensors are simply a bit out of alignment or possibly have a finicky connection that requires some TLC.
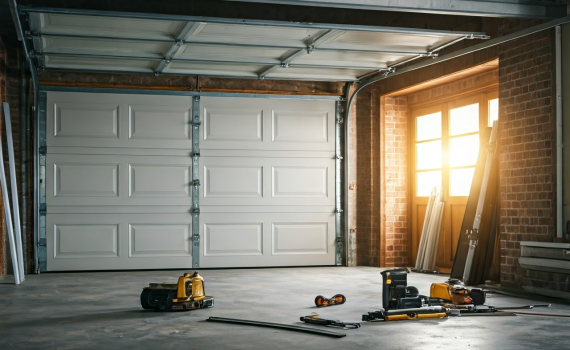
How to Align Garage Door Sensors: A Step-by-Step Guide
A. Safety First!
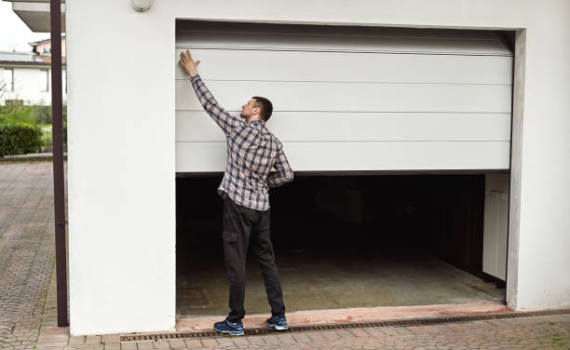
Ready to get those sensors in order? Safety first, as always! Though you might normally need power to the garage door opener to see the indicator lights on the sensors, please do ensure your garage door is completely open and won’t suddenly move while you’re working near the tracks. Safety is absolutely of the utmost importance here.
B. Visual Inspection & Cleaning: The Quick Checks
First of all, take a rapid visual overview. Is the garage door threshold clear of any obvious obstructions, such as an errant shovel or a wayward basketball? Occasionally, it really is that simple!
Next, take a soft, dry cloth and wipe down those grimy lenses on each garage door sensor. Cobwebs, dust, or even a smudge of grime can effectively hinder the infrared beam of light.
And while you’re there, give the wiring a quick inspection for pinches or loose connections, and ensure that the mounting brackets holding each sensor in place are firmly attached, straight, and not noticeably bent.
C. Identifying the Emitter and Receiver: Know Your Players
Let me assign your sensor team. You’ll have two:
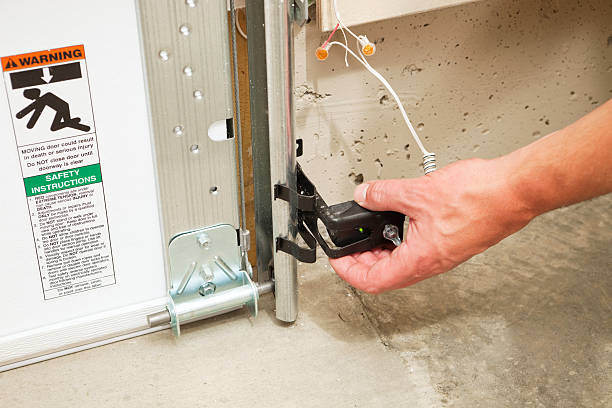
- One is the emitter (the sender). This one emits the invisible light beam and usually has a steady green light (or occasionally amber) to show it’s powered on and working.
- The other sensor is the receiver. Its light is your indicator – it will tell you if it’s receiving that beam. A solid light usually means good alignment; a flashing light or no light usually means it’s not receiving the signal.
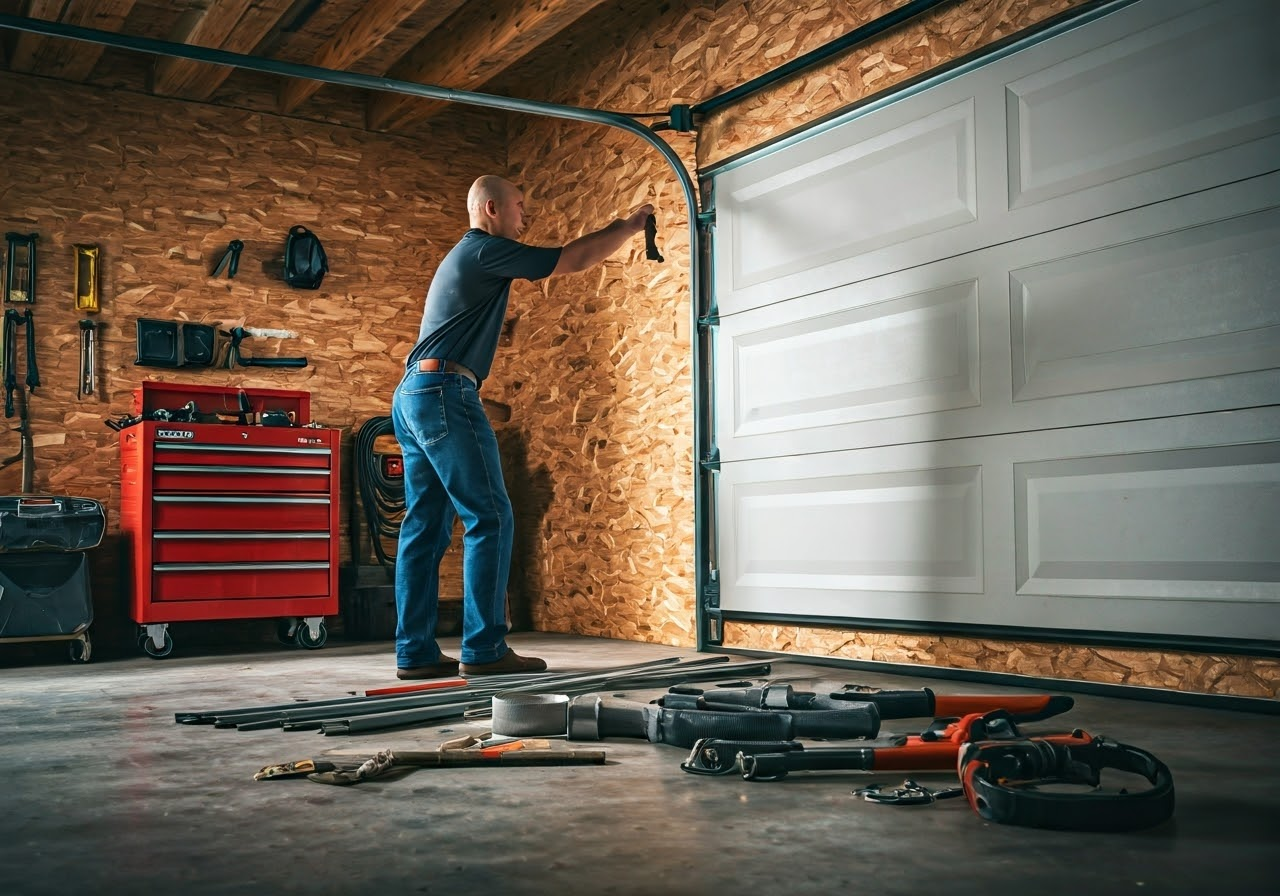
D. The Alignment Process: Getting Them to See Eye-to-Eye
This is where a little patience goes a long way!
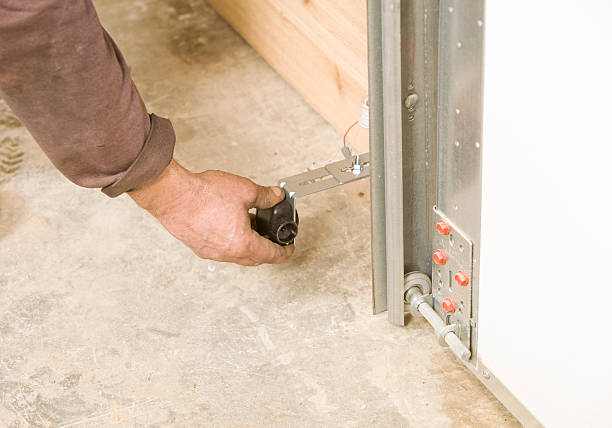
- Loosen Up: If you have one of your sensor lights blinking (typically the receiver), that’s the one we’ll be working with. Partially loosen its mounting bracket wing nut or screw – just enough so that you can shift it carefully. You may need a screwdriver or small wrench for this.
- Tighten Carefully: Now, slowly turn the sensor. You’re trying to align it straight across the garage doorway at the sensor on the opposite side of the garage door track. Imagine that you’re trying to aim at a very small target. Tiny little movements are your friend here!
- Watch the Light: Keep a careful eye on that indicator light on the receiving sensor. You want to see it change from blinking to a solid, steady light. It’s usually a cheerful, solid green light, indicating success!
- Secure It: As soon as that light is stable and burning brightly, slowly tighten the bracket back down, ensuring that the sensor does not move out of its ideal position.
E. Testing the Functionality: The Moment of Truth!
Nice job! Don’t dance for joy like you’ve won the lottery just yet, but move any objects or tools away from the garage door opening.
If you had disconnected your garage door opener for any reason whatsoever, plug it in now.
Time to test: attempt to close the door with your remote or wall switch. Check that it closes all the way down without a hitch.
One final crucial test – the safety reversal. While the door is closing, briefly and carefully interrupt the infrared beam of light with an object (a stick or cardboard tube – not your foot or hand, please!). The door should reverse straight away.
If it does, congratulations, you have your sensors aligned!
Troubleshooting Common Problems
Still noticing that annoying blinking light after doing your best at alignment? Don’t lose hope yet!
- Clean those grubby lenses once more gently – a persistent dust speck might be the culprit.
- Make sure that the mounting brackets are really rock-solid and that the sensor isn’t loose. Any little vibration will throw things off.
- Verify that wire connections are secure, both on the sensor itself and at the point where they attach to the main opener unit. A loose wire is a tricky one.
- Make a very careful examination of every sensor unit and bracket. If you notice any obvious cracks, breaks, or if a bracket is severely bent out of shape, that component may need to be replaced, unfortunately.
- This is one of the not quite so easy ones: direct, sunny light. When the sun actually shines directly into one of the sensors’ lenses at a certain time of day, it can occasionally disrupt the beam. If your garage door only acts up when it’s especially sunny, this might be your ‘ghost in the machine’!
When to Call the Professionals: Dave Moseley The Door Guy
If you’ve gone through all the steps conscientiously – obstruction clearing, lens cleaning, and trying alignment carefully – and your garage door still isn’t cooperating when closing, or that pesky sensor light simply won’t remain solid, it’s likely time to bring in the reinforcements.
Similarly, if you think there are underlying problems, such as worn-out wiring you’re not sure how to handle, a possibly defective sensor that needs replacing, complex problems with the garage door opener unit itself, or even an annoying fuse problem, it’s always wise to let a professional take a look.
And if you simply don’t want to perform these inspections yourself, or just desire the peace of mind of knowing your garage door safety mechanisms and overall function are in top shape, then that’s why we’re here!
Do not let a malfunctioning garage door sensor ruin your entire day. If you are in Berlin, NJ, give us a call at Dave Moseley The Door Guy. We are always pleased to offer fast, courteous, and professional garage door repair.
Frequently Asked Questions
What is a garage door sensor and why is it important?
A garage door sensor is a safety device mounted on either side of your garage door frame. It emits and receives an invisible light beam that prevents the door from closing if there’s an obstruction, protecting people, pets, and objects.
How can I tell if my garage door sensor is misaligned?
Common signs of a misaligned garage door sensor include the door refusing to close, reversing suddenly mid-way, or one sensor’s light blinking instead of staying steady. Sometimes, the opener unit itself will flash a warning light.
Can I fix a misaligned garage door sensor myself?
Yes! Many homeowners can realign their garage door sensors by loosening the mounting bracket, carefully adjusting the sensor until the light turns steady, and then securing it back in place. Just make sure to follow safety precautions.
What should I check before adjusting my garage door sensor?
First, ensure the garage door is fully open and won’t move unexpectedly. Check for any physical obstructions near the sensors, clean their lenses with a dry cloth, and inspect wiring and mounting brackets for damage or looseness.
Why does my garage door sensor keep blinking even after alignment?
If your garage door sensor’s light keeps blinking, it might be due to dirty lenses, loose brackets or wiring, damaged sensors, or even interference from direct sunlight hitting the sensor lenses.