
The Ultimate Garage Door Installation Guide
Here in New Jersey, choosing a garage door is an important choice to make as it helps in deciding the look of your home, improves its looks, and keeps it secure. But after choosing the right door, what next? Installation. So you could pick the very best garage door and end up messing up the entire installation process. In this article, we will make garage door installation a breeze for you, with our step-by-step DIY garage door installation guide. Just make sure you stick to us and see how easy garage door installation becomes for you.
Let’s get started!
Key Highlights
- This garage door installation guide provides a comprehensive walkthrough of garage door installation, covering various aspects from choosing the right type to maintenance.
- Follow the step-by-step installation instructions, ensuring safety and accuracy throughout the process.
Preparing for Your Garage Door Installation
Let’s get you ready for the installation process. First thing first. Get ready to tour tools and measure your garage door space. The truth is when you get your workspace well prepared, it makes the entire installation process faster and quicker.
Have the right tools you’ll need for the drilling process, as well as your level, and your wrenches handy also. The accurate measure of the door space is what you need to make sure your door fits perfectly. A garage door installation guide can help you check and double-check the width, height, and headroom to ensure your measurement is accurate.
Measuring Your Garage Door Space Accurately
I’ll repeat. Accurate measurement is of grave importance. If you get it wrong here, you’ve gotten the entire process wrong. Start by measuring the width of the door opening from inside the garage. Take down the measurement.
Then, go for the height. Measure the height of the opening from the floor to the bottom of the door header. If you have an uneven floor, then take the highest measurement. Lastly, measure the headroom. This is the space from the door opening to the ceiling.
By accurately taking these measurements, you can make a perfectly fitted garage installation. Keep in mind, a garage door installation guide can be very helpful if you’re unsure about the specifics of the measurements or the installation process.
Step-by-Step Guide to Installing a Garage Door
Now that your workspace is set and you’ve taken accurate measurements, let’s put in the work. Our garage door installation guide will ensure the successful installation of your garage door. Also, make sure to check your new door’s instruction manual for specific details and safety tips.
Step 1: Removing the old door

Safety precautions are to be observed from this first step. Start by unplugging your old garage door opener and removing any power source. Make sure you completely disconnect every connection before getting started. Next, take off the old door spring. You need to be careful here as those strings are under a lot of tension. They can hurt you if not properly handled.
If you are not confident about dealing with the springs, it’s a good idea to contact the professionals. However, if you are comfortable with the process, following a garage door installation guide can help you navigate the steps safely. After removing the spring, take off the cables and the old door panels one after the other. Slowly lower each panel to the floor and do away with the old door properly.
Step 2: Preparing the opening
Phew! You are done removing the old garage door. Nice work done. Let’s move on. Now that the old door is done, check the door opening if you caused any damage while removing the old door.
Fix every damage, crack, or rot in the door frame. This ensures the firmness of the newly installed door. Also, make sure you clean the opening well by removing debris and blockages. Focus on the spots where you’ll place the weatherstripping.
For a smooth process, refer to the garage door installation guide to make sure all steps are followed correctly. You need a clean and ready opening to ensure a perfect fitting of your garage door. This will also avert problems later on.
Step 3: Assembling the door panels
Start by unpacking your new garage door panels. Make sure you handle the panels with care and avoid scratches. Use the manufacturer’s instructions to put the door together. It usually starts from the bottom to the top.
Attach the panels using the hinges and hardware that come with them. Make sure you line it up correctly before tightening it. Use the manual instruction to find out which part is on top and which is at the bottom of each door panel.
The manual is there to guide you alongside this blog to create a professional touch. When you are done, re-check to make sure the panel and the hardware connections are properly aligned.
Step 4: Installing the tracks and rollers
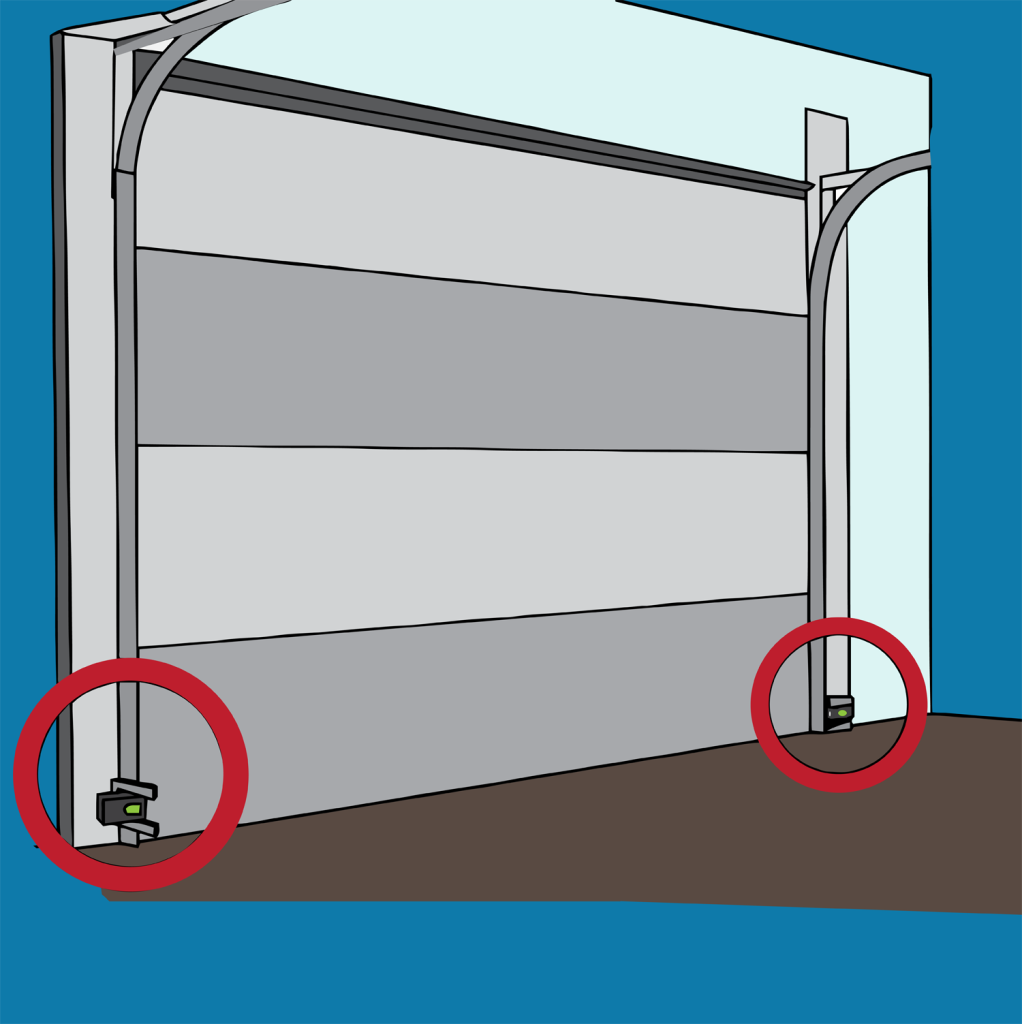
For your door to function smoothly you must take this step seriously. You need an accurate installation of the tracks and rollers for your garage door to operate properly. Start by putting up the vertical tracks. Make sure the tracks are straight and properly fixed to the wall with brackets. Then, slide the rollers into the right spots on the door panels.
Next, you need to carefully lift the door panels on the vertical tracks while connecting the rollers. Install the horizontal tracks by joining them to the vertical ones and securing them to the ceiling.
Finally, recheck the alignment. Make sure the rollers can freely move along the tracks. The door should be able to slide up and down without trouble by the time you are done.
Step 5: Attaching the springs and cables
This is another important step. And you need to be careful in this step. Just like we said earlier, garage door springs are usually under a lot of tension. They can be dangerous especially when mishandled.
This is a step that should make you consider contacting professionals. But if you are confident in yourself, then let’s go ahead.
Make sure you follow the manufacturer’s instructions closely to execute this step. Carefully attach the springs to the top of the garage doors and the brackets. You should then thread the cables through the springs and drums, making sure you get the right tension.
Finally, double-check all the connections are right. Make sure you properly fasten your cables and that they are all placed in the right position.
Step 6: Installing the garage door opener
Now your door is installed, it’s time to put in the opener. The first thing to do is to lift your garage door opener unit with a strong ladder.
Make sure you place it according to the manual instructions provided in your garage door installation guide. Then securely attach the opener to the ceiling joist or the mounting bracket that came with it.
Next, connect the trolley and attach the power cord to the opener. Please, for safety’s sake, make sure that the power is off from the breaker box before doing this.
Once you’ve finished the wiring, turn the power back and test how the opener works. If it’s having an issue, then you probably got something wrong.
To help it run smoothly and safely, make sure you adjust the opener’s force and travel limits. For details on programming the remote controls and wall unit, contact the professionals.
Step 7: Final adjustments and safety checks
Before you finish up, this is the last step. Safety! Do safety checks and final changes (if needed).
Unplug the opener and lift the door to about the middle. The door should be leveled and not be able to move. If it should go down or up, then adjust the springs.
Next, test the opener’s auto-reverse feature. Place something on the way to the garage door and start closing the door. The door should go back when it touches the object. You can change how sensitive the door is if you need to. Look at your manual for more information.
Step 7: Final Adjustments and Safety Checks
Before finishing up, do some safety checks and make final changes if needed. First, check the door’s balance.
Unplug the opener and lift the door to about the middle. The door should stay level and not move. If it goes up or down, adjust the springs.
Next, test the opener’s auto-reverse feature. Place something in the door’s way and start the closing. The door should go back when it touches the object. Change the sensitivity settings if you need to, and look at your manual for more details.
A Word From Us
Installing your garage door system is an important home project. It requires you to be careful with an eye for details. If you’re looking for a comprehensive garage door installation guide, it’s essential to follow best practices to ensure long-lasting and damage-free results. But if you want the best results that will last for a long time without damage, reach out to a professional.
If you are in New Jersey and you want a professional installation of your garage door, reach out to Dave Mosley the Door Guy. We are your top garage door repair services with the required licensing. We install and upgrade garage doors of all types. Call us today for all your garage door needs.
Frequently Asked Questions
Can I install my garage door myself using a garage door installation guide?
Yes, a garage door installation guide can help you install the door yourself, as long as you have the right tools and are comfortable following detailed instructions. However, handling components like springs can be dangerous, so if you’re unsure, it’s best to consult a professional.
What tools do I need for a garage door installation?
A typical garage door installation guide will recommend tools such as a drill, level, wrenches, measuring tape, and a ladder. Some guides may suggest additional tools depending on the specific model of garage door you’re installing.
How important is measuring the space correctly before installation?
Accurate measurements are crucial to the success of your garage door installation. A garage door installation guide will emphasize the importance of correctly measuring the width, height, and headroom of your garage space to ensure the door fits perfectly.
Should I hire a professional or follow a garage door installation guide?
While a garage door installation guide provides helpful instructions for a DIY installation, it is often safer and more efficient to hire a professional, especially for handling high-tension springs and ensuring the door functions properly.
Does a garage door installation guide cover safety precautions?
Yes, a good garage door installation guide will include important safety precautions, such as disconnecting power sources, handling springs carefully, and ensuring the door’s balance and alignment are correct.
How long does it take to install a garage door using a garage door installation guide?
The time it takes to install a garage door using a garage door installation guide varies depending on your experience and the complexity of the door. On average, it may take 4 to 6 hours for a DIY installation.