How to Line Up a Garage Door Safety Sensor Eye
Do you know that the proper lining of your garage door safety sensor eye is vital for your home’s safety? These sensors are located on either side of your door and sometimes they’re not easily noticed. It’s easy to overlook their importance, however, if they’re not properly aligned you may find it difficult to operate your garage door. Ensuring proper alignment of your garage door opener safety sensor photo eyes, also known as a photo eye safety system, is crucial for garage safety.
So, if you want your garage door to operate smoothly and prevent any potential accidents or damage, you need to know how to align them properly. This is where we can help. Join us in this article as we’re about to let you in on some step-by-step tips to help you line up your garage door safety sensor eye.
Let’s get started!
Key Highlights
- It’s important to know some problems your garage door photo eye may face. This will help you avoid them to keep your sensors working for a long time.
- There are some steps you need to consider when aligning your garage door safety sensor eye to ensure it works properly. However, if you don’t have the right tools or experience, it’s wise to contact an expert to avoid damaging your sensors.
Common Problems in Aligning Your Garage Door Safety Sensor Eye
Lining up your garage door safety sensor eye is not just about installing them on your garage door track. It’s easy to make some mistakes in the process if you’re not aware of some common problems involved in aligning your garage door photo eye. Keep reading as we give you some info on the issues you may face. Here’s a list for you:
Sensor damage: Your sensors are important components of your garage door system, therefore you should protect them to enable them to function properly. If you expose them to extreme weather conditions or install them in places where they can be physically damaged by cracks or breaks in your house, then they may not be able to perform their duty effectively.
Electrical issues: When aligning your garage door photo eye, don’t forget to check your wirings too. If they’re loose, short-circuited, or frayed, it can affect your sensor’s operation. So, make sure you check your wirings and if you notice any signs of damage or corrosion, call an expert to replace or fix them.
Sunlight interference: If your sensor lenses are exposed to extreme weather conditions like direct sunlight, it can disrupt their ability to properly detect obstructions and this will make them malfunction. So, you can either install your sensors where they won’t be affected by direct sunlight or use a sun shield to shade your sensors.
Sensor aging: Just like any other device, the components of your sensors may wear out or degrade with time and this will affect its performance. When this happens, try to replace them to improve their efficiency. However, with regular maintenance, you can prolong its lifespan.
Environmental factors: Sometimes, changes in your garage door environment, such as temperature fluctuations, humidity levels, or the presence of reflective surfaces, can affect the way your sensor works. So, make sure you consider these factors when aligning your sensors to help them function properly.
Step-by-step Instructions on How to Align a Garage Door Safety Sensor Eye
Aligning your garage door photo eye shouldn’t be a hassle if you know what to do. That is why we’ve laid out these step-by-step simple guidelines to help you make sure that your garage door safety sensor eye functions properly.
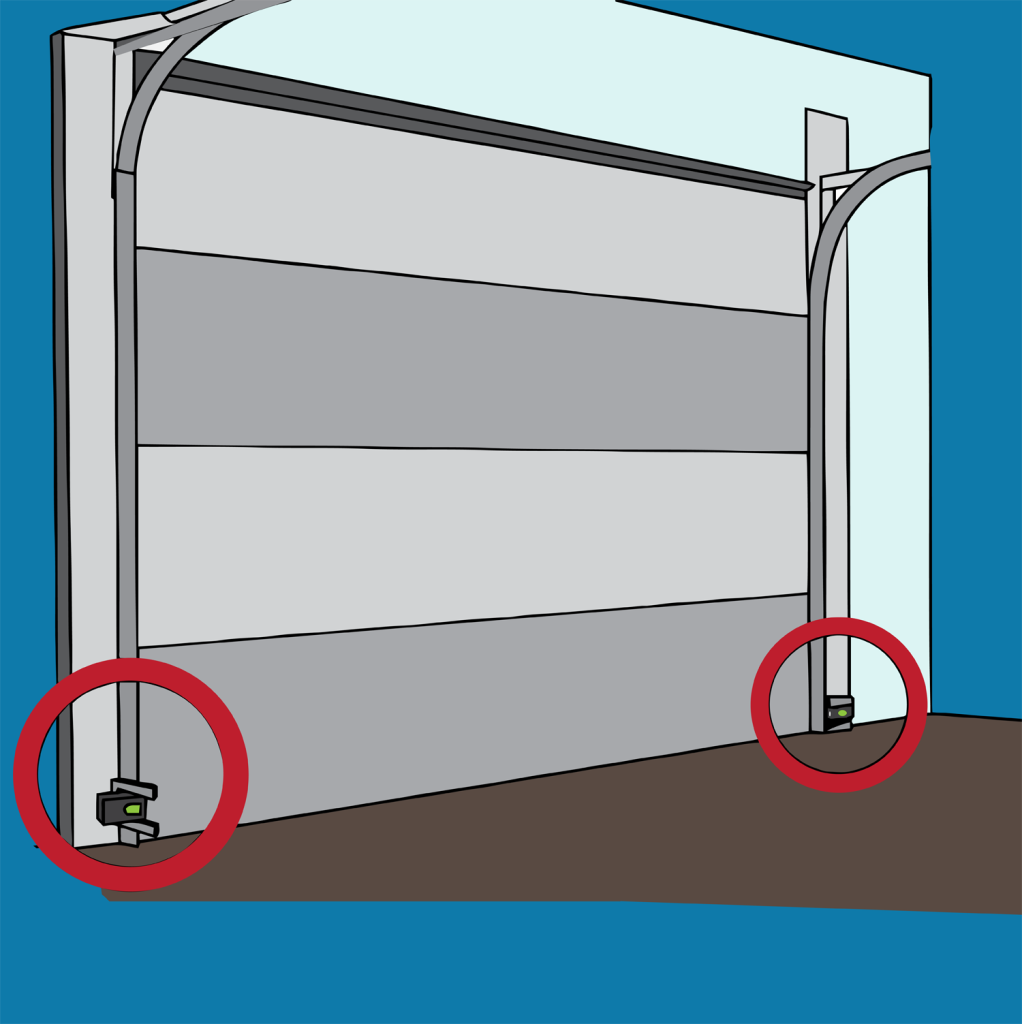
1. Identify the sensors
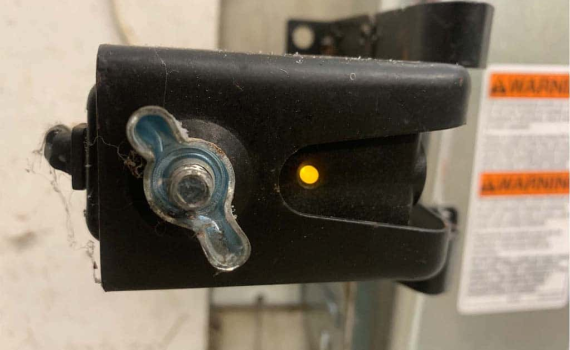
The first thing you need to do is to know where your garage door safety sensor eyes are located. If you check near the bottom of your garage door track you’d see them on either side of your door. These sensors, also known as sensor lights, come in pairs and here’s why: one has a green LED light when sending out an infrared beam, and the other one that has a red or amber LED light catches it, acting as the receiving sensor.
These sensors are crucial for the proper functioning of your overhead door and it is important to use genuine OEM replacements to ensure safety and quality. Additionally, make sure that both sensors have a solid green light to indicate that they are working properly.
2. Check alignment
Now here’s where you should pay close attention. Make sure that the two sensors are facing each other and are properly aligned parallel to the ground. That’s not all, you want your garage door photo eye to work efficiently so, ensure that no obstacles are blocking the path between the two sensors when you’re aligning them. One more thing: make sure you gently adjust their positions until they are perfectly aligned. You might want to consider using a level to ensure that both sensors are at the same height.
3. Clean the sensors
Sometimes your garage door safety sensor eye may fail to function properly due to dust, dirt, or debris on its lenses. When this happens, your sensors may not be able to detect the infrared beam which will affect its efficiency. So, get a soft, dry cloth preferably a microfiber cloth to clean the lenses of both sensors to help your sensor perform its duty very well.
4. Secure your mounting brackets
Your mounting brackets play a crucial role in securing your garage door photo eye. It helps your sensors to maintain stability especially if there are vibrations or movement around the environment and it also helps in protecting them from any form of physical damage. That’s not all, your mounting brackets keep your sensors in a fixed position on the side of the garage door to prevent accidental movement or shifting that could disrupt its performance.
So, make sure you tighten the mounting brackets of both sensors firmly to your garage door track or wall for both sensors. This would help you ensure they perform their duty properly without getting loose over time.
5. Test sensor alignment
Now that you’re done securing your mounting brackets and properly aligning your garage door safety sensor eye, it’s time to check it out. Try and activate your garage door opener and then close the door. While the door is closing, wave an object such as a broomstick or a cardboard box toward the sensors, wall button, or garage door button to cause an obstruction.
6. Fine-tune its alignment
As you wave the object, your door should be able to detect the obstruction and immediately stop to reverse its direction. However, if it doesn’t stop or reverse its direction, it simply means that your sensors are not properly aligned. You don’t have to panic. Here’s what you should do: try to adjust your sensor’s positions until they align properly and your garage door begins to respond to the obstruction.
When it starts working properly, it’s important to repeat the process several times to ensure its performance is consistent. If there’s a need to make an extra adjustment, do it till your garage door operates smoothly and safely.
7. Secure your wiring
The little wires that connect your garage door photo eye to your door opener are important too. They help in making sure your garage door works effectively. However, if they’re hanging loosely, they could easily get snagged or damaged, especially with all the moving parts around them. You might also bump into them or accidentally get them pulled out while entering your garage which will cause your sensors to stop working. To avoid this, make sure to secure your wiring properly and tuck them away from any overhead obstructions.
As you won’t want to be the reason your sensors stop working, Make sure you secure your wires nicely with no loose ends or exposed bits. You can use some cable ties or clips to keep the wires neatly tucked away along the wall or garage door track to help your sensors and transmitter do their job effectively.
8. Regular maintenance
Your garage door safety sensor eye should be able to perform its duty for a long time if you regularly maintain it. Sometimes, what your old sensor needs is proper maintenance to get it working again. Check the alignment of your sensors periodically and make sure you clean their lenses whenever they get dirty so that they can work effectively and ensure the safety of your garage door. Also, make sure you take note of any changes in your garage door environment, such as if something breaks the beam as the door closes.
For example, if you need to change the position of your garage door track due to some reason or you want to install a new object near your sensors, try to check your sensor alignment when you are done to make sure it fits properly.
We Can Help!
Here’s the truth: lining up your garage door safety sensor eye can be a hassle if you don’t have the right skills and safety sensor kit to do the job. However, there’s no need to go through the stress of DIY processes. With our selection of wireless safety beams and photo eye sensors for gate openers, we can help you complete the job efficiently with our Genie Openers replacement kit. All you need to do is to call a professional for a quick view and to get the job done.
Dave Moseley The Door Guy is here to help with your garage door photo eye installation, alignment, and maintenance. We have the experience, tools, and accessories to properly align your garage door photo eye. Our services are affordable, fast, and reliable. Reach out to us now!
Frequently Asked Questions
Why is my garage door safety sensor eye not working?
If your garage door safety sensor eye is not working, it could be due to misalignment, dirt on the lenses, or a wiring issue. Ensure that both sensors are properly aligned and clean the sensor lenses regularly. If the issue persists, it might be time to check the wiring or consult a professional.
How do I align my garage door safety sensor eye?
To align your garage door safety sensor eye, start by checking that the sensors are facing each other and aligned horizontally. Remove any obstructions between the sensors and clean the lenses. You can also use a level to ensure both sensors are at the same height. After making adjustments, test the system by obstructing the sensor beam to ensure proper functionality.
Can I fix my garage door safety sensor eye myself?
Aligning or cleaning your garage door safety sensor eye can typically be done yourself with the right tools and careful attention. However, if you encounter issues like broken sensors or electrical problems, it’s best to consult a professional to avoid causing further damage.
How can I tell if my garage door safety sensor eye is faulty?
A faulty garage door safety sensor eye might be indicated by a blinking or off LED light on one or both sensors. If the sensors are misaligned or not receiving a signal, the garage door may not operate properly or fail to reverse when an obstruction is detected.
How often should I clean my garage door safety sensor eye?
It’s recommended to clean your garage door safety sensor eye at least once every few months, or more frequently if you notice dirt or debris on the lenses. Keeping the sensors clean will help maintain their sensitivity and ensure they can properly detect obstructions.